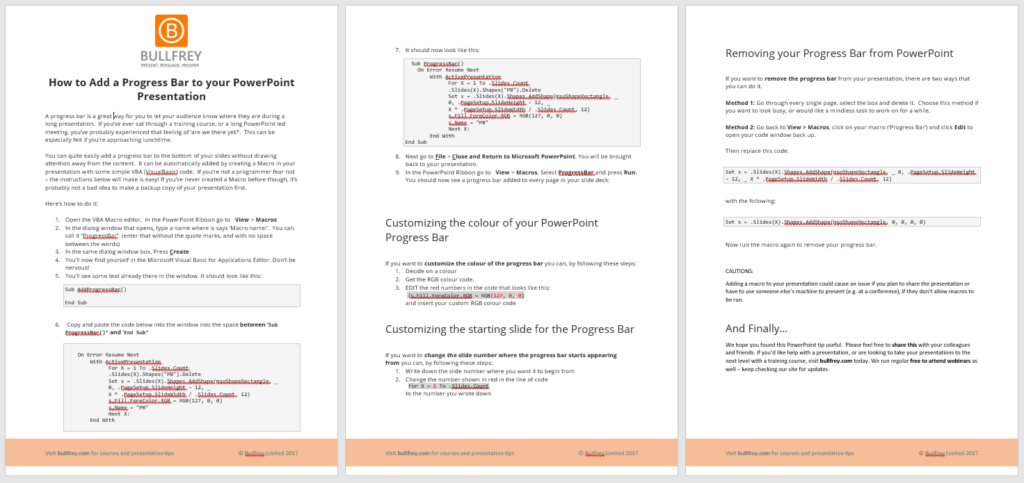
If you’ve ever sat through a training course, or a long PowerPoint led meeting, you’ve probably experienced that feeling of “are we there yet?”. This is especially true if you’re approaching lunchtime! There’s nothing worse than being in a long presentation and having no idea how far through the presenter is. Adding a PowerPoint progress bar is a great way for you to let your audience know where they are during those long presentations.
We’ve prepared a step by step guide for you to download that makes it easy for anyone to do this. The guide is also available as a PDF document – scroll down to the bottom of the post to get it.
 Step By Step Guide – Add a PROGRESS BAR to your PowerPoint Presentation
If you’re not a programmer fear not – the instructions below will make is easy! If you’ve never created a Macro before though, it’s probably not a bad idea to make a backup copy of your presentation first.
Instructions
- Open the VBA Macro editor. In the PowerPoint Ribbon go to View > Macros
- In the dialog window that opens, type a name where is says ‘Macro name:’. You can call it “ProgressBar”. (enter that without the quote marks, and with no space between the words)
- In the same dialog window box, Press Create
- You’ll now find yourself in the Microsoft Visual Basic for Applications Editor. Don’t be nervous!
- You’ll see some text already there in the window. It should look like this:
Sub AddProgressBar()
End Sub
- Copy and paste the code below into the window into the space between ’Sub ProgressBar()’ and ‘End Sub’
On Error Resume Next
With ActivePresentation
For X = 1 To .Slides.Count
.Slides(X).Shapes(“PB”).Delete
Set s = .Slides(X).Shapes.AddShape(msoShapeRectangle, _0, .PageSetup.SlideHeight – 12, _
X * .PageSetup.SlideWidth / .Slides.Count, 12)
s.Fill.ForeColor.RGB = RGB(127, 0, 0)
s.Name = “PB”
Next X:
End With
- It should now look like this:
Sub ProgressBar()
On Error Resume Next
With ActivePresentation
For X = 1 To .Slides.Count
.Slides(X).Shapes(“PB”).Delete
Set s = .Slides(X).Shapes.AddShape(msoShapeRectangle, _
0, .PageSetup.SlideHeight – 12, _
X * .PageSetup.SlideWidth / .Slides.Count, 12)
s.Fill.ForeColor.RGB = RGB(127, 0, 0)
s.Name = “PB”
Next X:
End With
End Sub
- Next go to File> Close and Return to Microsoft PowerPoint. You will be brought back to your presentation.
- In the PowerPoint Ribbon go to View > Macros. Select ProgressBar and press Run. You should now see a progress bar added to every page in your slide deck:
Customizing the colour of your PowerPoint Progress Bar
If you want to customize the colour of the progress bar you can, by following these steps:
- Decide on a colour
- Get the RGB colour code.
- EDIT the red numbers in the code that looks like this:
(Fill.ForeColor.RGB = RGB(127, 0, 0)
and insert your custom RGB colour code
Customizing the starting slide for the Progress Bar
If you want to change the slide number where the progress bar starts appearing from you can, by following these steps:
- Write down the slide number where you want it to begin from
- Change the number shown in red in the line of code
For X = 1 To .Slides.Count
to the number you wrote down
Removing your Progress Bar from PowerPoint
If you want to remove the progress bar from your presentation, there are two ways that you can do it.
Method 1: Go through every single page, select the box and delete it. Choose this method if you want to look busy, or would like a mindless task to work on for a while.
Method 2: Go back to View > Macros, click on your macro (‘Progress Bar’) and click Edit to open your code window back up.
Then replace this code:
Set s = .Slides(X).Shapes.AddShape(msoShapeRectangle, _ 0, .PageSetup.SlideHeight – 12, _ X * .PageSetup.SlideWidth / .Slides.Count, 12)with the following:
Set s = .Slides(X).Shapes.AddShape(msoShapeRectangle, 0, 0, 0, 0)
Now run the macro again to remove your progress bar.
CAUTIONS:
Adding a macro to your presentation could cause an issue if you plan to share the presentation or have to use someone else’s machine to present (e.g. at a conference), if they don’t allow macros to be run.
And Finally…
We hope you found this PowerPoint tip useful. Please feel free to share this with your colleagues and friends, and join our mailing list for more tips and offers. We run regular free to attend webinars as well – keep checking our site for updates.

